A Drip campaign sends a sequence of messages based on the time each contact joins the campaign. Use it for follow-up that should begin separately for each person, such as onboarding, purchase follow-up, or a customer check-in sequence.
Before You Begin
Prepare:
- a descriptive campaign name
- a TCR-approved sender number
- the messages and delays in the intended order
- the contact collection or test contact you will use
- any personalization fields included in the messages
Keep the campaign disabled until the messages, audience, timing, and test results are correct.
Create the Campaign
- Open Campaigns.
- Select New Campaign.
- Enter a name that describes the audience and purpose.
- Select the approved Sender Number.
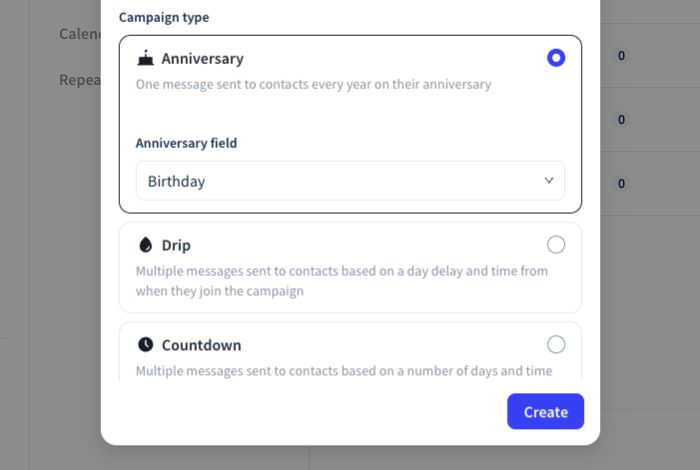
- Select Drip.
- Select Create.
Wave also offers Anniversary, Countdown, Calendar, and Repeating campaigns. Confirm Drip before creating the campaign because the scheduling controls depend on the campaign type.
Build the Message Sequence
- Open the new campaign.
- Select the plus button beside Messages.
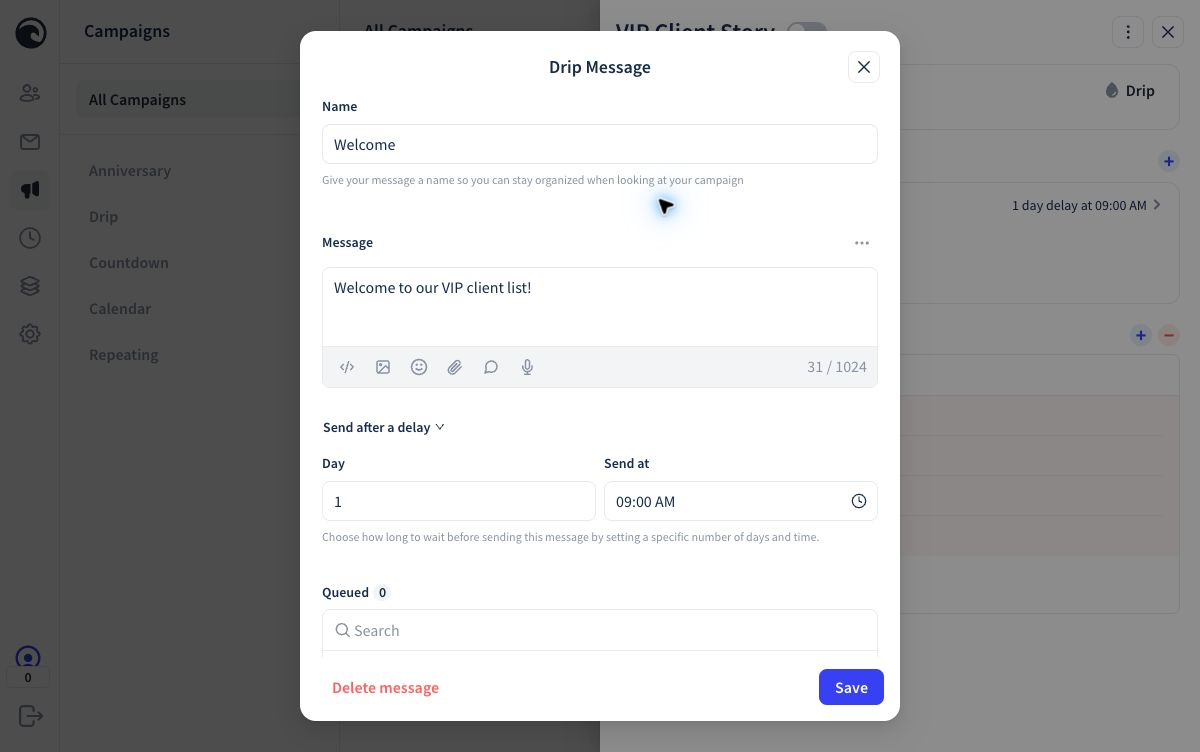
- Enter an internal message name.
- Write or insert the message content.
- Set Send after a delay to the intended number of days.
- Set Send at time.
- Save the message.
Repeat these steps for every message. Give each message a name that explains its place in the sequence, such as Day 2 Check-In or Week 2 Follow-Up.
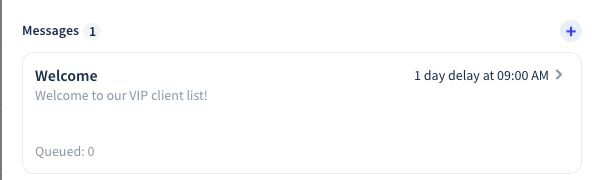
The delay belongs to that message. Review the complete campaign instead of assuming that the messages automatically build on one another. Wave shows the saved delay, delivery time, queued count, and processed count on each message card.
Before adding contacts, confirm:
- the messages appear in the intended order
- each delay and time is correct
- names and personalization fields are spelled correctly
- every required message was saved
Add Contacts or a Collection
The audience controls become useful after the campaign contains at least one saved message.
- Select the plus button beside Contacts.
- Choose the Collections or Contacts tab.
- Select the intended collection or individual contacts.
- Review Dynamic collection.
- Select Add.
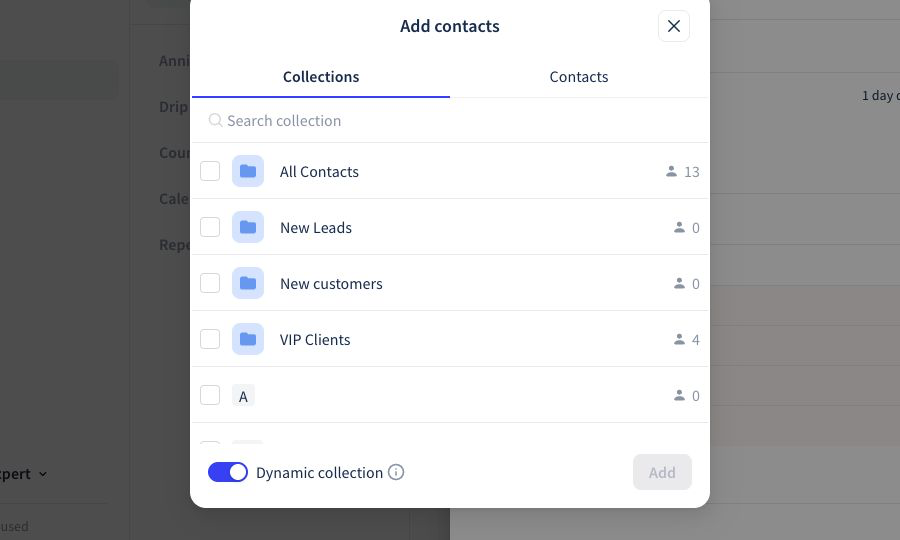
Use a collection when a rule or workflow defines the campaign audience. Use individual contacts for a controlled test or a small exception.
When Dynamic collection is enabled, changes to collection membership can change who belongs to the campaign. Keep it disabled when the campaign should use only the contacts selected at that moment.
For a Drip campaign, the delay begins when the contact joins. A two-day message is scheduled about two days after that contact is added, subject to broadcast hours.
Test the Complete Sequence
Open the campaign's menu and use Fast Forward when Wave makes it available. Test with a phone number you own or are authorized to use.
Confirm:
- the sender is correct
- personalization renders correctly
- every message appears in the intended order
- delays and delivery times are correct
- replies behave as expected
- opt-out behavior works
If a test fails, keep the campaign disabled, correct the message or audience, and test again. Do not use customer contacts as the first test.
For the detailed test procedure, see Test, Enable, and Pause a Campaign.
Enable and Verify the Campaign
Before switching the campaign on:
- confirm the sender number
- review every saved message
- confirm the audience and Dynamic collection setting
- review broadcast hours
- confirm the campaign is still disabled while completing the review
Enable the campaign only when the live audience is ready. Then open Wave Timeline and confirm that the expected upcoming messages appear.
What Success Looks Like
- the campaign is attached to the correct sender
- all messages show the intended delay and time
- the Contacts section contains the intended collection or people
- the test messages arrive in order with correct personalization
- the Timeline shows the expected upcoming sends after the campaign is enabled
For a ready-made Drip example, see Mary Kay 2+2+2 Follow-Up.
If the campaign does not schedule messages, use Troubleshoot Common Wave Problems.