On Phound Desktop, open Account > Wallet to register a payment method. To review a personal subscription, open Account > Subscriptions. Payment-method registration, Wallet top-ups, and subscription management are different actions.
Manage a purchase through the billing provider shown on its receipt or current subscription screen. Signing in to Phound with Google or Apple does not identify the provider that bills your subscription.
Register a Payment Method in Wallet
This walkthrough was checked in Phound Desktop 6.0.5650 on an account with no payment method registered in Phound Wallet.
- Select the profile icon in the left sidebar to open Account.
- Select Wallet.
- Find the Payment method section and select Add payment method.
- Your browser opens a Stripe-hosted Save payment information page for Phound Phone.
- Choose an available payment option. For a manual card, complete the card and billing fields requested by the form. A saved Link option may also be shown; use Pay without Link if you want to open the manual form instead.
- Read the authorization text. Select Save only when you are ready to authorize the payment method for future Phound payments.
- Return to Wallet and review the payment-method status shown. If it does not reflect what you completed, contact Support rather than repeatedly saving or making a second purchase.
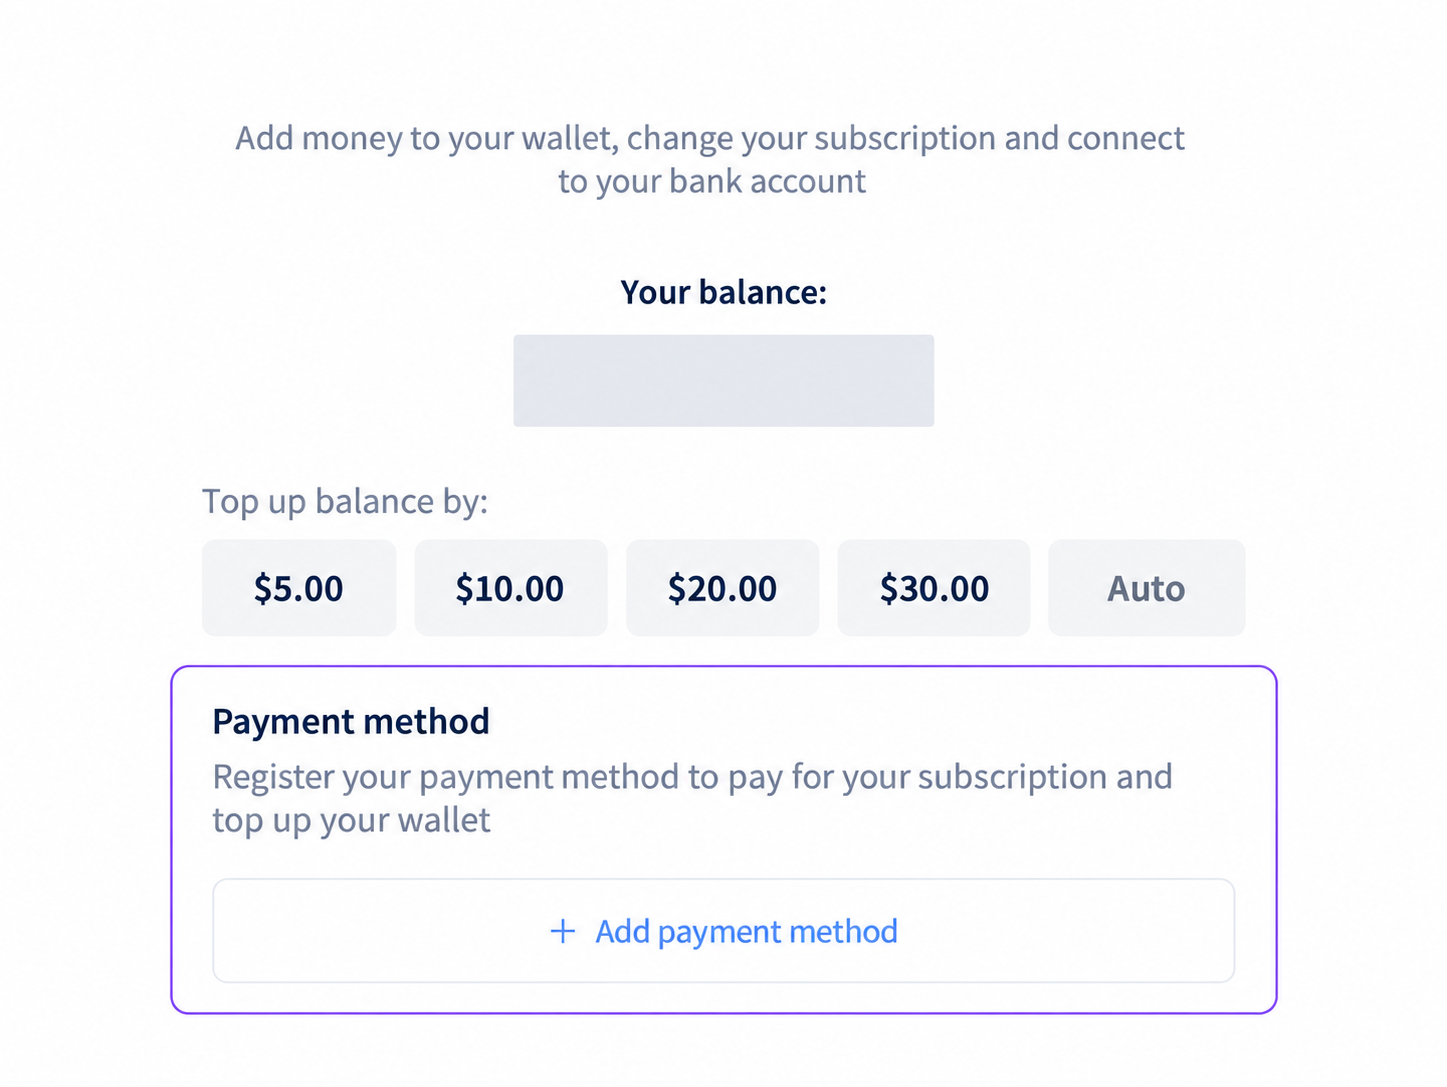
Edited screenshot detail showing Add payment method in Wallet. The balance is obscured.
The Wallet screen describes its registered payment method as being used for Phound subscription payments and Wallet top-ups. This does not mean it changes the payment settings for purchases billed by an app store or another provider.
Registering a method is not the same instruction as selecting a Wallet top-up amount. Review the action and authorization shown before confirming anything. Available methods can vary by provider and region.
Review Your Subscription
- Open Account > Subscriptions.
- Select the personal plan or add-on you want to review.
- Check its status, renewal information, and management instructions.
- If the desktop page says to use the Phound mobile app to update or manage the subscription, open Phound on mobile and follow that subscription's management instructions there.
Do not look for a desktop change control when the subscription page directs you to mobile. Use the billing provider on the receipt to determine where its payment method is managed.
Phound Business remains separate from personal subscriptions. Use the Phound Business portal for Business account management, as described in Get Started with Phound Business.
Identify the Billing Provider
Check the latest receipt or the subscription's current billing details before changing a payment method.
| Provider shown for the purchase | Where to get payment-method help |
|---|---|
| Phound billing | Use Wallet for the registration workflow above. For help changing a method already registered with Phound, contact Phound Support. |
| Apple | Follow Apple's instructions for changing or updating an Apple Account payment method. |
| Google Play | Follow Google Play's subscription payment-method instructions. |
| Another provider | Open the provider named on the receipt and use its payment or billing controls. |
The app-store instructions apply only when that provider bills the purchase. Do not choose a billing workflow merely because you installed Phound on an iPhone or Android device, or because you use Google/Apple sign-in.
Update the Payment Method
For a purchase billed by Apple, Google Play, or another provider, open the correct subscription or account with that provider and follow its payment-update instructions. Review the change before saving it, then confirm the resulting payment information with that same provider.
For an existing method registered directly with Phound, contact Phound Support if you need help replacing it. Include that you are asking about an existing Wallet payment method, not adding your first method or changing an app-store payment.
Do not remove or overwrite a method just to test whether a subscription will use a different one. Open Phound or the known billing provider directly, rather than entering payment details through an unexpected message.
Review a Charge
Before reporting a billing problem, collect:
- The charge date and amount.
- The plan, product, or Wallet action shown.
- The billing provider and receipt or transaction identifier.
- The payment method label or last four digits shown on the receipt, if relevant.
- A screenshot with full card numbers, codes, and other sensitive details hidden.
Failed Payment
- Confirm the billing provider and payment method for the affected purchase.
- Check the payment details and follow that provider's retry instructions.
- Do not purchase a second subscription while the first payment is unresolved.
- Contact Phound Support if account access, a phone number, or a Wallet balance is affected.
Follow the current notice on your account for payment timing and service effects.
Still Need Help?
Contact Phound Support and include the billing provider, charge date, amount, and receipt or transaction identifier. Never send a complete card number, CVV, password, or verification code.